Back To Index
<Prev
Next>
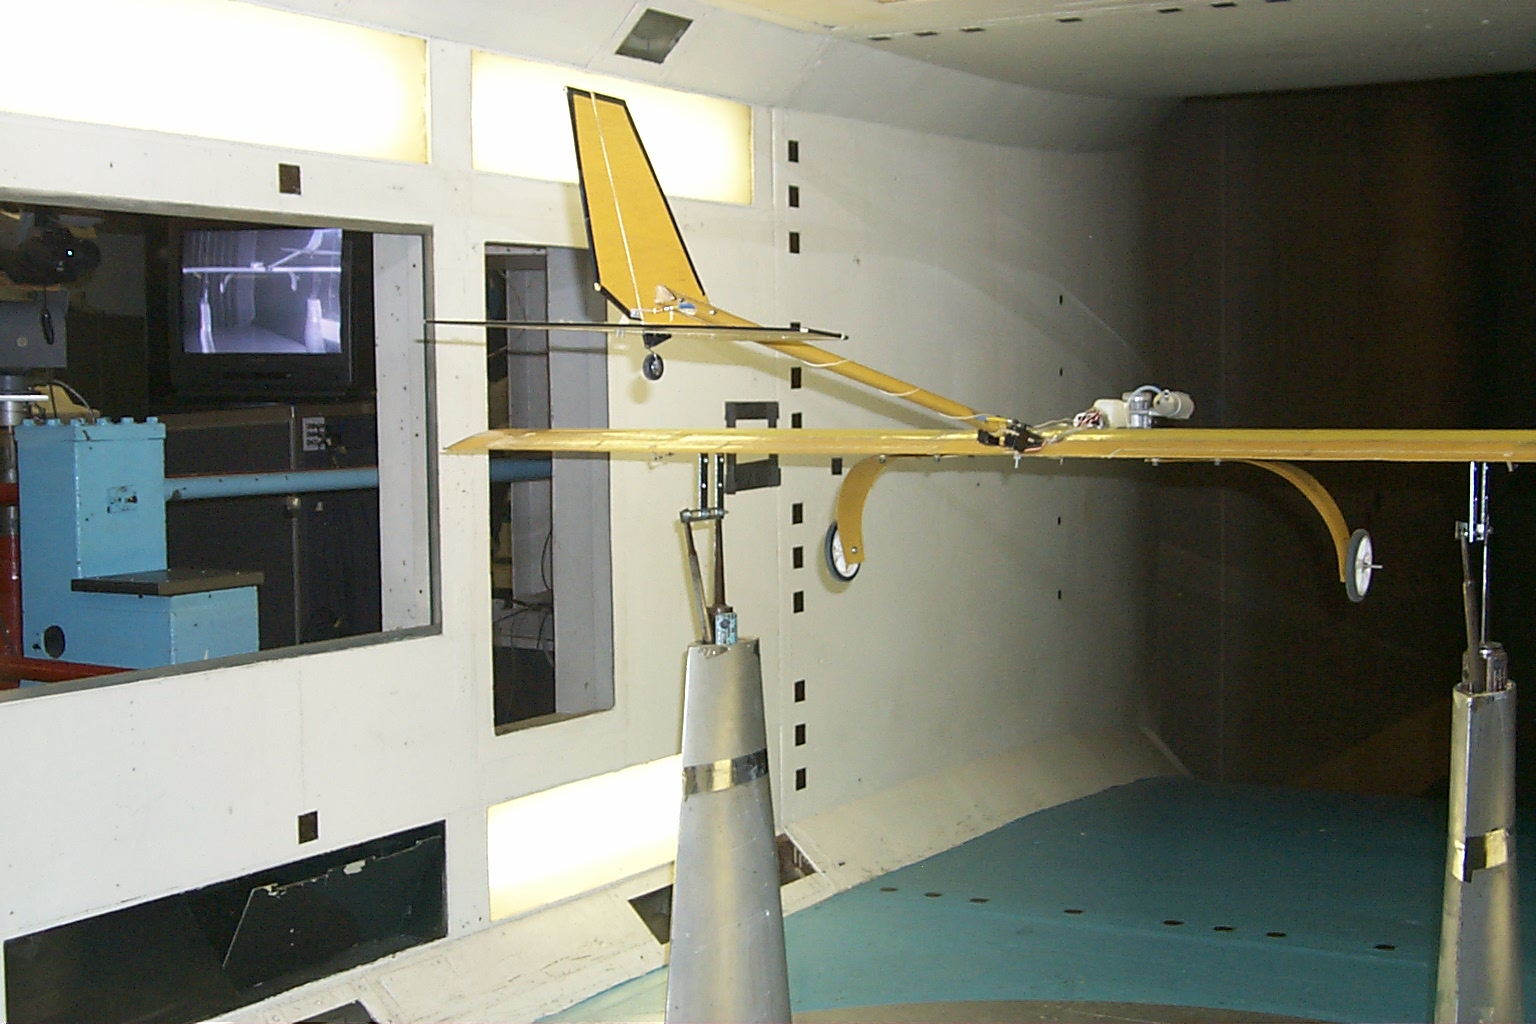
Wind Tunnel Configuration Photo III